Winter brings challenging road conditions, and having the right tires can make all the difference in ensuring your safety and maintaining control of your vehicle. Changing your tires for winter is a crucial step to enhance traction and maneuverability. In this practical guide, we\’ll walk you through the steps of changing your tires for winter driving, helping you navigate icy and snowy roads with confidence.
1. Assess Your Tires
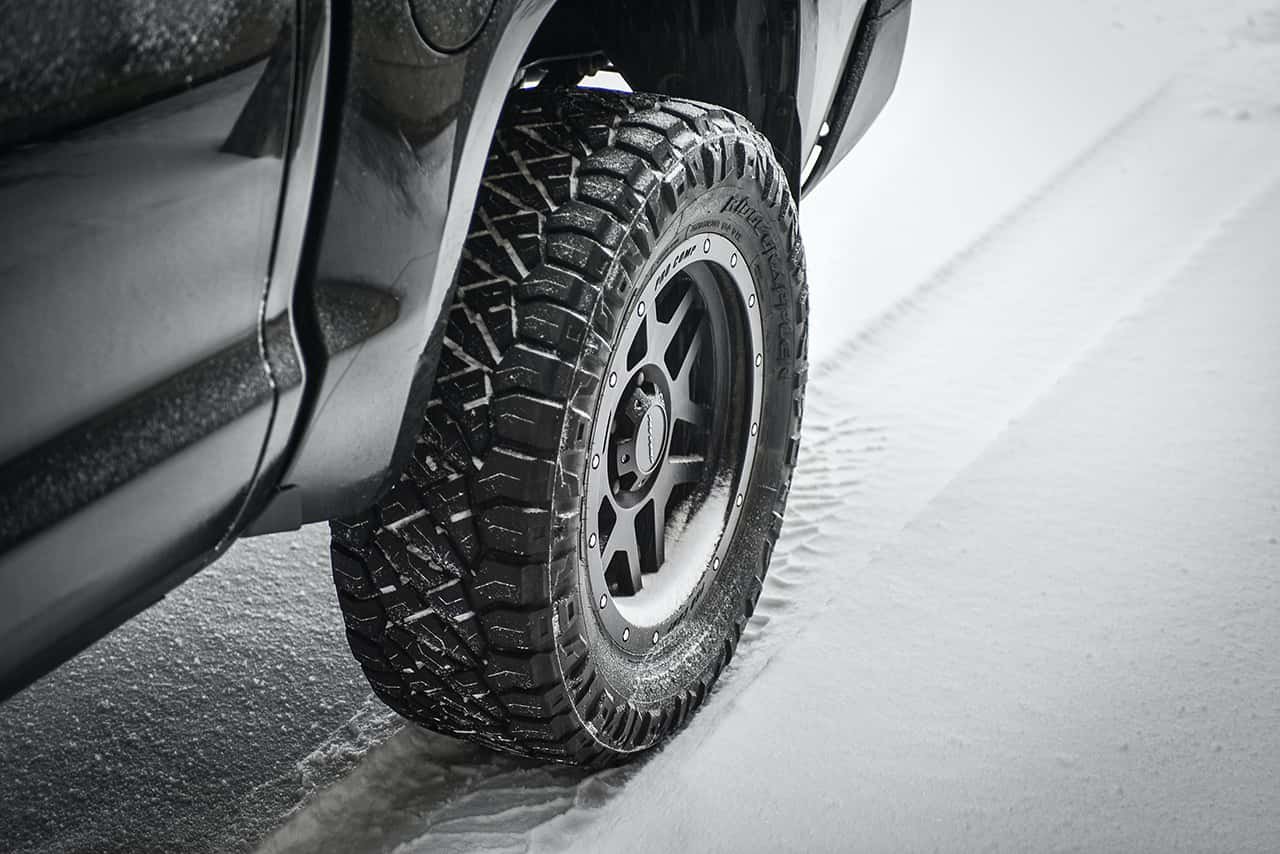
Before you start the process, assess the condition of your current tires. Check for signs of wear, and ensure they have adequate tread depth1. If your tires are worn out, it\’s time to invest in a set of winter tires designed to handle the challenges of cold weather.
2. Gather the Necessary Tools
To change your tires, you\’ll need a few tools:
- A car jack
- Lug wrench
- Wheel chocks
- Gloves
- A torque wrench

3. Find a Safe and Level Location
Choose a flat and safe location to change your tires. Avoid inclines and make sure the ground is stable. Apply the parking brake and use wheel chocks2 on the opposite end of the car you\’re lifting.
4. Loosen the Lug Nuts
Before lifting the car, use the lug wrench to slightly loosen the lug nuts on each wheel. This is easier to do while the vehicle is still on the ground.

5. Lift the Car
Position the car jack under the designated lifting points, usually indicated in the owner\’s manual. Lift the car until the wheels are off the ground. Double-check that the car is secure before proceeding.
6. Remove the Wheels
Use the lug wrench to fully remove the loosened lug nuts. Take off the wheels and set them aside.
7. Install Winter Tires
Place the winter tires onto the wheel studs and hand-tighten the lug nuts. Use a star pattern to ensure even tightening.
8. Tighten Lug Nuts with Torque Wrench
Once the car is lowered, use a torque wrench to tighten the lug nuts to the manufacturer\’s specifications. This ensures proper and uniform tightening.
9. Repeat for All Wheels
Repeat the process for all four wheels. After changing all the tires, double-check the lug nuts to ensure they are secure.
10. Check Tire Pressure
Confirm that each tire is inflated to the recommended pressure. Cold weather can cause tire pressure to drop, affecting performance.
Winter driving conditions demand extra precautions, and changing your tires is a proactive step towards enhancing safety on the road. By following this practical guide, you\’ll be well-prepared for winter driving challenges.
With these steps and precautions, you\’re ready to conquer winter roads with confidence. Stay safe, and enjoy the winter driving experience!
Footnotes
- Tread Depth: Ensure your tires have sufficient tread depth for winter conditions. The recommended tread depth is usually 6/32 inches or more for winter tires. ↩︎
- Wheel Chocks: Wheel chocks are essential to prevent the vehicle from rolling while lifted. Place them on the opposite end of the car from the one you’re lifting. ↩︎


3 Comments
Join the discussion and tell us your opinion.
I’m from Mexico, and even though we don’t experience harsh winters, this guide is still valuable. It’s a reminder that preparation is key, no matter where you are. Practical advice like this is universal and appreciated by drivers worldwide.
Coming from Sweden, where winter driving is a way of life, this practical guide on changing tires for winter is spot-on. It’s not just about safety; it’s a necessary skill for smooth winter journeys. Kudos for the helpful tips!
As a driver in China, where winter conditions vary, this guide is a lifesaver. Changing tires for winter is often overlooked, but it’s crucial for maintaining control on icy roads. Thanks for breaking down the process in such a clear and practical way!